Wednesday, April 23, 2014

Book Cover Designs

By Becca

I'd love it if this post was about a cover for the story I've been writing…
 sadly I have a long way to go before it's at that stage.

I have been planning designs for one of Beth's short stories,
 and it has really captured my interest.
I can't share that specific cover just yet, but I thought it would be fun to share some techniques and layouts that I've discovered.

There are two main categories of covers
(Well, at least that's what we saw when we checked out our book shelf)

Photography based


and 
Illustration based


I suppose there is another category that old books can fall into,
Just a fancy design :)
Like this one I picked up the other day at an pawn shop


I love illustrations, but I can't draw that well… maybe with some more practice :)
 I can take pictures though, and I really enjoy editing and graphic design.
So here are three book covers I made with my photography, and the thoughts behind them.

The first one was for a story Beth has in progress.
I love this landscape, a wagon wheel trail through the prairie.
Just from this picture, can you get an idea about the setting of the story?


I put this photo in PicMonkey and spruced it up a little,
layering a few vintage filters, lightening it up, and adding some lovely fonts.


This is very simple, the picture doesn't distract from the title, but complements it.
With the aged effects and the western fonts, it steers the imagination into the story world behind the cover

Beth's story is historical fiction set in the pioneer days,
could you guess that from the cover and title?

The second one isn't for a real story, I was just having fun :)


Doesn't it look kind of creepy?
I tweaked the lighting, added a distressed wall texture in PicMonkey, and antiqued frame.
The title on the left balances out the feather pen,
and the Author's name is emphasized with a flourish.
It makes me think of a mystery story.

The last one is also just for kicks and giggles. 
We thought since we had one landscape and one still life, I should make one with a person.
So I made Beth stand outside with my umbrella :)


It was raining hard just ten minutes before, but it stopped when we went outside.
So I added some rain in PicMonkey :) 
I washed out all the colors with black and white, but left the yellow to shine
The font I wanted to use disappeared in the trees, so I used some cloud overlays to help it stand out.
 I think this one looks more modern then the first two, it could be YA fiction.

Some day I'd love to design covers that will be published,
But for now I should keep working on my story…

Saturday, April 19, 2014

Mission: 1940's Sam Moore Chair

by: Bethany

This upholstery project has been my second special order for someone (sorry, no pictures of the first). Finding pieces to fix up and sell is fun, but then there is finding buyers, and having space for a growing inventory.

 Doing a job for someone else has it's own challenges, but it's rewarding too.

When people ask, "Hey, I have this (insert type of furniture here). Would you be interested in taking a look at it?" it's almost like, "Your mission, should you choose to accept it…"

So, my mission was this:


I was told it was a Queen Anne style chair, but doing some research, I came up with pictures like this.


Similar, but not quite right…

I found that the style of the back of the chair is called "channel back", so looking into that deeper, I found this.


That was it! 

The site said it was a 1940's Sam Moore chair. I don't know if Sam Moore was the designer, or just the name of the style.


The chair had been reupholstered before, so this wasn't the original fabric.


It was well loved, by both people, and cats. :)


So, the first step was disassembling the chair.


Pulling off the old fabric meant yanking out lots of staples, and ripping off pieces that were glued down.

All of the trim around the back of of chair was both stapled and glued.
Yup, lots of fun.


This part is actually my favorite. I love seeing the bare bones of the piece and how it was put together.
Now, I just had to remember how everything went, so I could put it back the right way. :)


The fabric my client (my boss, too) chose was a nice medium weight fabric called "Symphony Evening" from Warehouse Fabrics Inc.


It took 5 yards of it to do the chair.


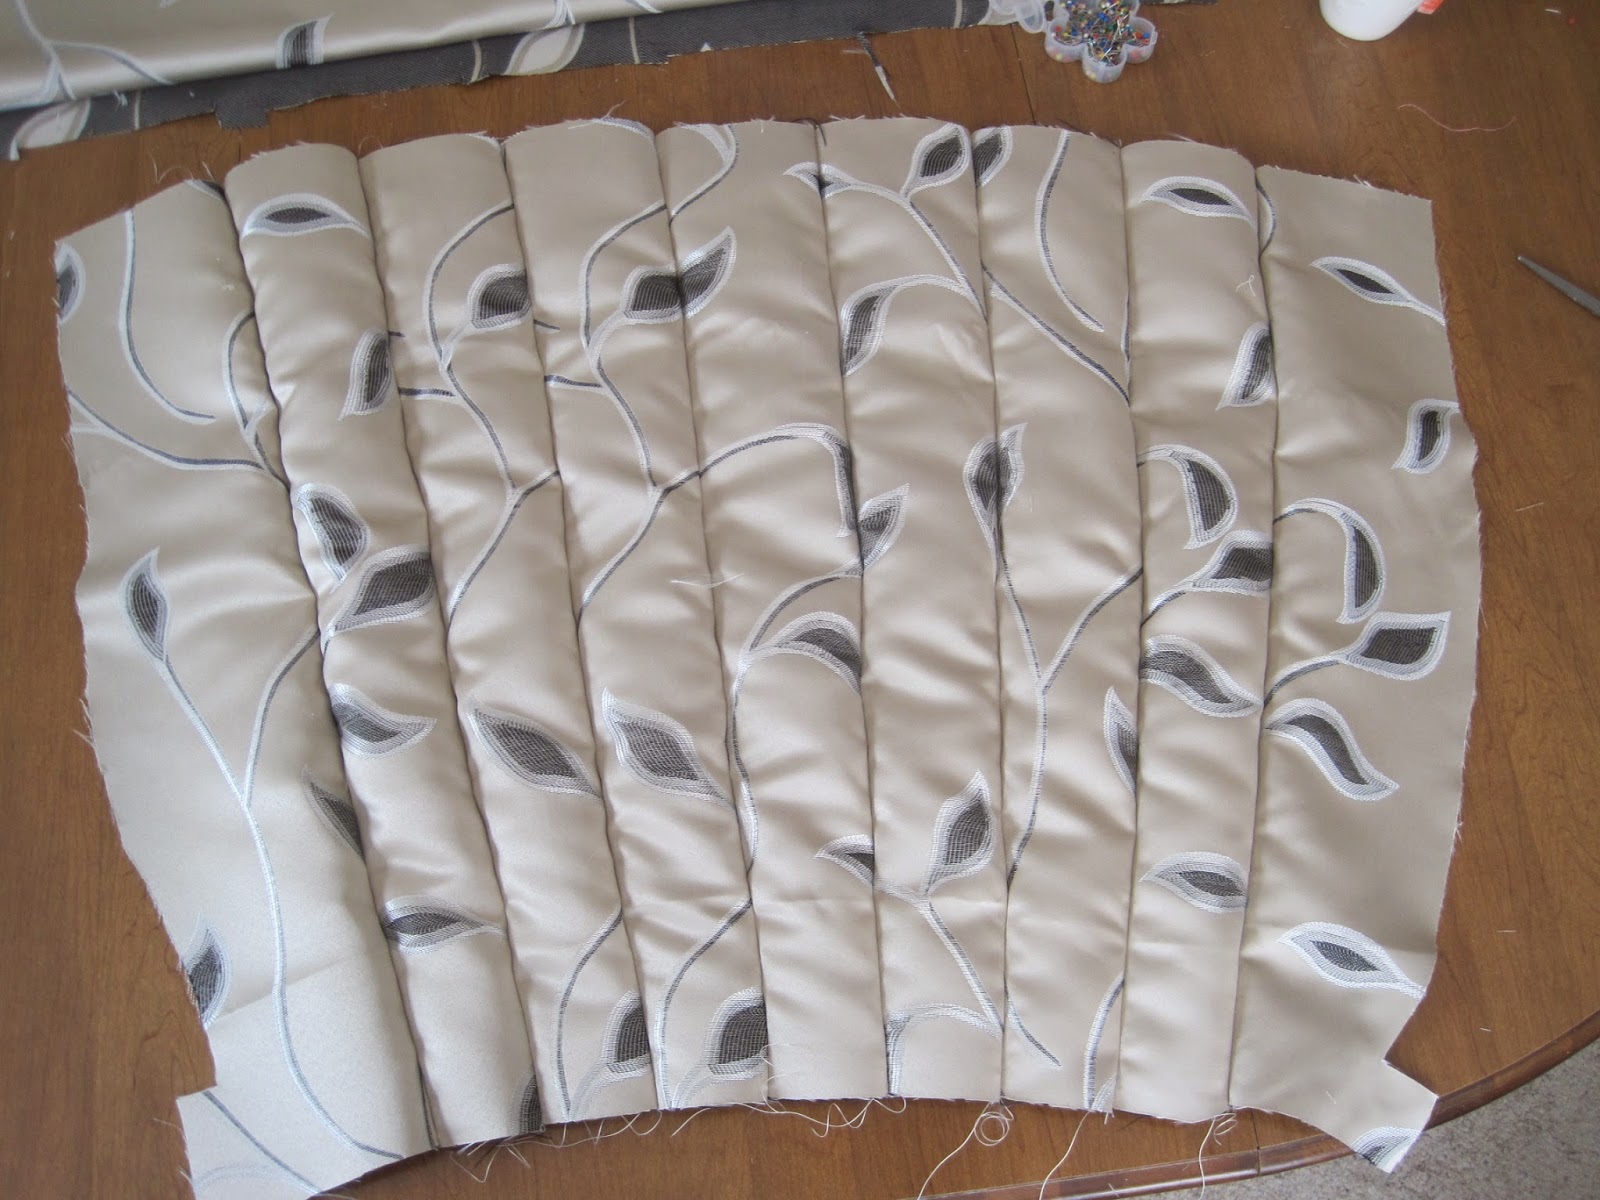
The most complicated part was the channel back.

Burlap backing


I took it apart section by section; numbering the batting pieces so I could put them back in the right order.


I used the old pieces for patterns.


Once I had it sewed together, I replaced the batting and reattached the burlap.


The next step was replacing the batting on the arms of the chair.


Again, I used the old pieces of fabric for the pattern for the arms and front of the chair.
I also used a new piece of fabric to cover the batting on the seat.


Then I fit the back piece in, and stapled it in place.


I attached the back piece of fabric to the top first, and then around the sides of the arms.


 A strip of cardboard helped guide where I put staples.

Folding the fabric around the arm.

  Then came the upholstery nails…. They were both fun and annoying. They give the piece a really elegant look, but they can be a little temperamental when you're nailing them in.


I went to lots of different hardware stores looking for the right kind of nail. I knew I wanted a dark finish to match the deep brown color in the fabric, but most stores only carried brass nails. 
I found these nails at Walmart, but it was frustrating because they would only have two or three packages on the shelf at a time, and each package only had 24 tacks. So, I had to make quite a few trips to get all the nails I needed.

For the seat cushion, I made my own piping for the very first time.


After reading some tutorials, I found that there's actually a special sewing machine foot for piping, which I didn't have, so I made do with my zipper foot.

The difference is that the piping foot has a groove designed to follow the piping as you sew. With the zipper foot, I had to carefully guide the machine, but the foot allowed to sew right up besides it.

It was a fun learning experience.


All that was left now was to finish nailing the back!

My workspace = the dining room
It's a very multi functional space. :)


Everything seemed like it was done, and my boss was coming to pick it up, when I realized that I hadn't replaced the fabric on the bottom of the chair!


There we go!

Before 
After

Mission: Accomplished.
Related Posts Plugin for WordPress, Blogger...