
Hold your horses!
Before you groan and say, "No, not another channel back chair!", just keep reading.
But you wouldn't do that, would you?
Of course not. You're too curious and want to see what this cute little chair looked like once I finished with it.

It's hard to tell from that picture, but the fabric used on it was really pretty.

Dainty scallops sprinkled with little rosebuds made up the pattern, but in some well-worn places, that was kind of hard to tell.

It definitely needed some TLC.
The owner of this chair, Heather, goes to our church, and is also a fellow blogger! (check out her blog here) She was over visiting while I was working on my last channel back chair, and told me about her chair that needed to be reupholstered. She had found it at a thrift store for a super good price, so seeing past the dingy, faded fabric, to the lovely old shape of it, she brought it home and uses it for doing her devotions.
It was fun taking it apart and seeing that the last upholsterer used the same technique to remember the order of the padding in the back: numbering pieces of tape to stick on them. Great minds think alike, I guess?
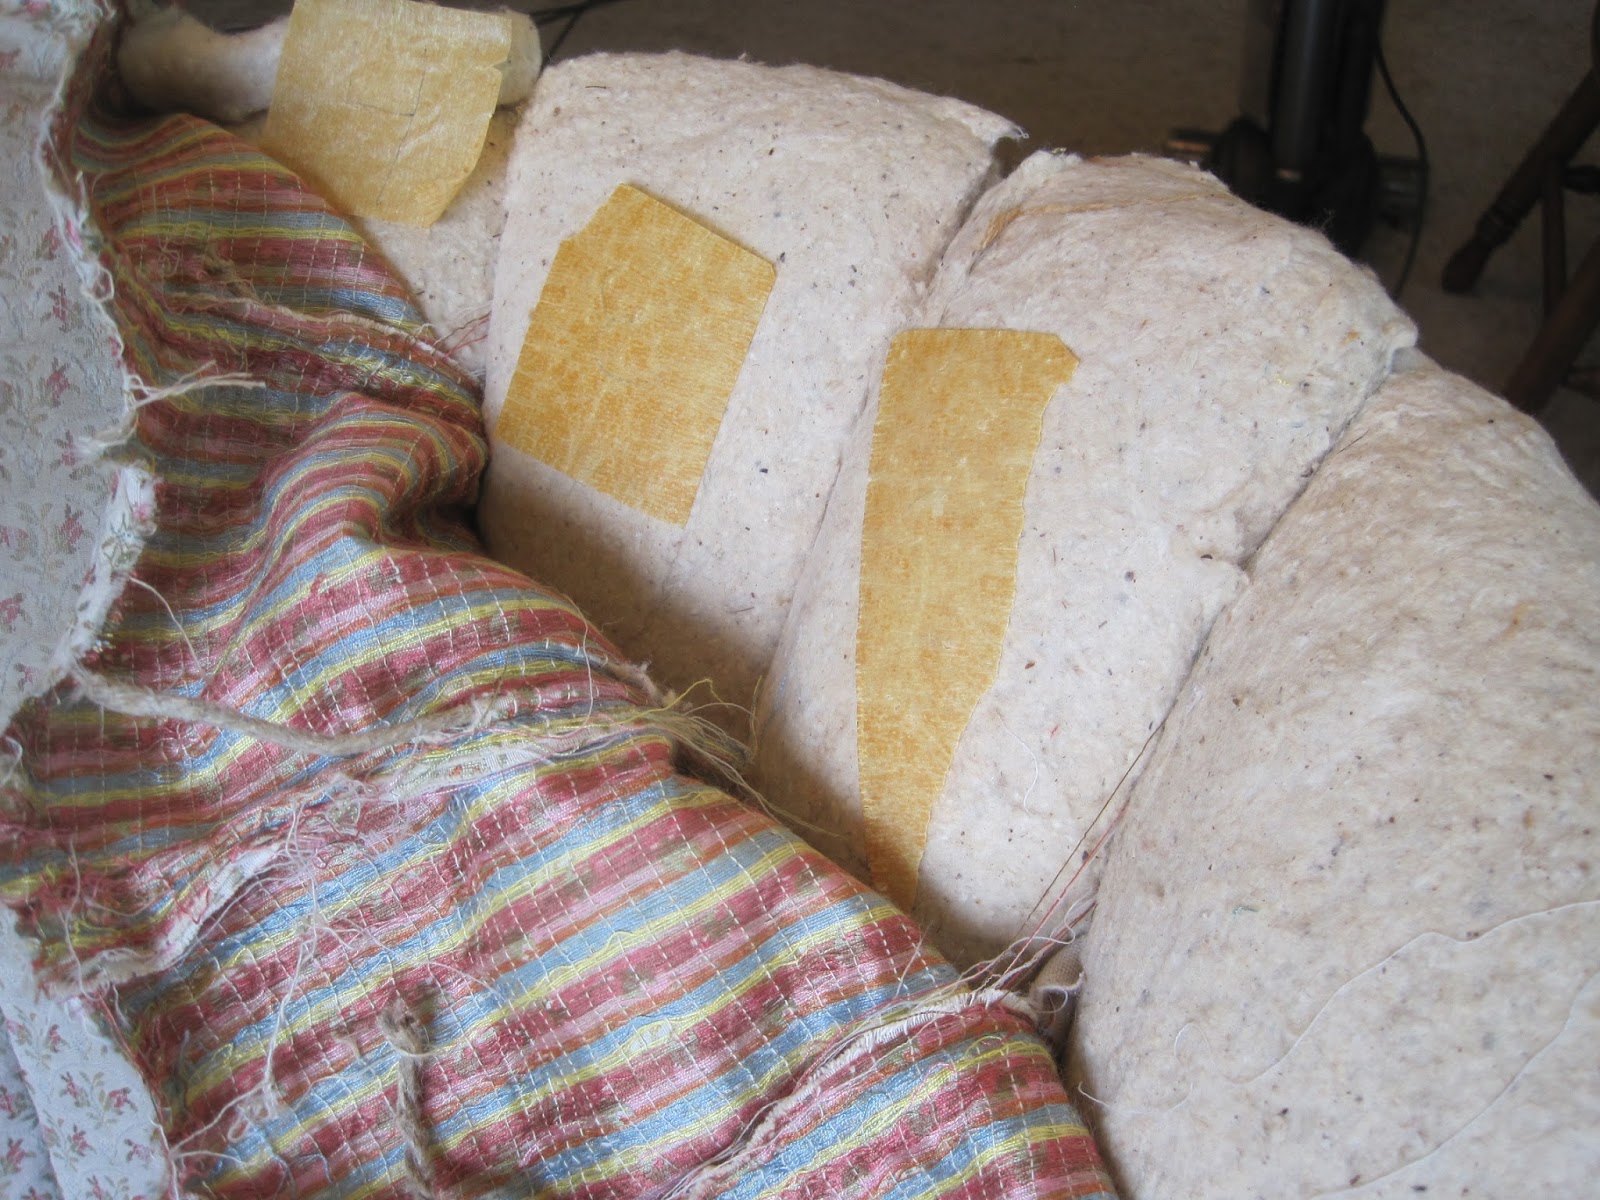
There's the bare bones of it.
Those giant springs must give some awesome lower back support.


When I got to this point, I sanded down and re-stained the legs and the ends of the armrests.
Then I hauled it back into my workspace, aka, the dining room, to move on to the upholstery.
Yes, this was another channel back, but it had differences from both of my previous projects (See here and here). While it most resembles the first chair I did, both the back and arms were of different styles, and even the way the channels were done wasn't the same.
Instead of the padding being sewn between the upholstery fabric and a sturdy piece of burlap, there was pieces of cording sewn into the fabric to hold the channels in place.


The cords were pulled tight between the padding and stapled down. It was an interesting way of doing it, but one I had not seen before.
As I like putting things back the way they were, I did sew cording to the new fabric and did it that way, which worked pretty good, although I can't say it was easier then the other way.
When I get in the groove of finishing a project, I often forget to take pictures of those stages. Thankfully, Mom snapped a few pics before I was totally done.


Yep, my old friend ply-grip. It may not be the most fun to work with, stapling it can be down right annoying sometimes, but it really makes things look slick.

For the most part, I was able to reuse the origanal padding and cushions, but I did at a bit of extra stuffing to the seat cushion to plump it up.


Already to head back to it's home!
Bethany this chair looks gorgeous! You have such an amazing talent!
ReplyDeleteBlessings,
Brigid
the Middle Sister and Singer
I love it! I love it! I love it!
ReplyDeleteI can not thank you enough for taking it from where it was to where it is now!
My devotions are back in progress in a lovely old chair that has been given new life.
Fabulous job, Bethany!!!!! I will send more business your way for SURE!
Blessings to you and yours
~Heather <3